By Chris Faubel, M.D. —
Indications
- Hip Joint Osteoarthritis and Pain
- ICD-9 code: 715.15 “Osteoarthrosis, localized, primary, pelvic region and thigh”
- ICD-10 code: M16.10 (M16.11, M16.12) “Unilateral primary osteoarthritis, unspecified hip” (right & left, respectively)
- Hip Labral/Labrum Tear
- ICD-9 code: 718.05 “Articular cartilage disorder, pelvic region and thigh”
- ICD-10 code: M24.159 “Other articular cartilage disorders, unspecified hip”
CPT codes:
- 20610 “Arthrocentesis, aspiration and/or injection; major joint or bursa”
- 77002 – Fluoroscopic guidance of a needle (non-spinal)
- Remember to bill for the J-codes for the contrast and steroid as well.
Patient Position
- Supine
- An alternative approach is laterally, but I find this supine anterior-to-posterior approach to be much quicker, more successful, and less painful.
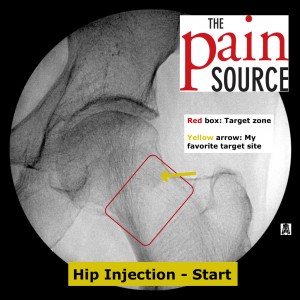
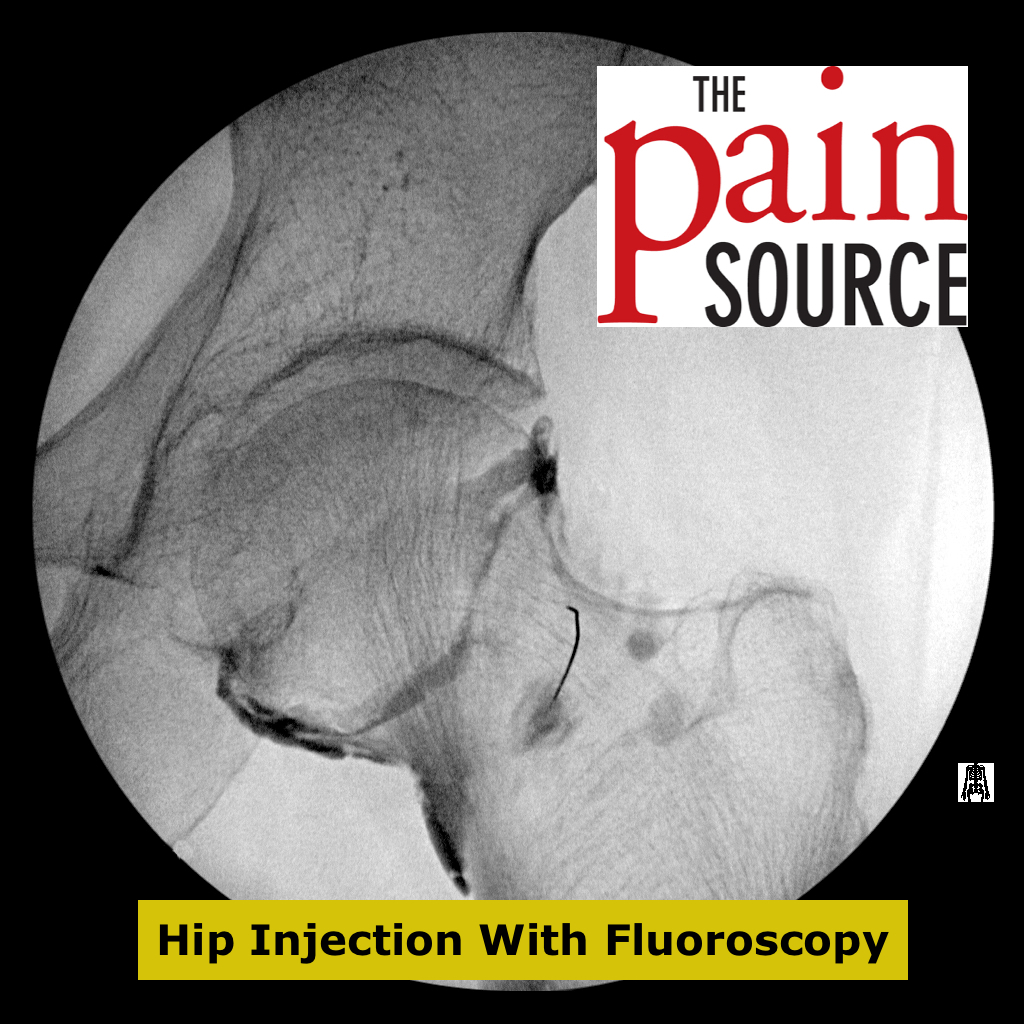
- Internal rotation of the leg is essential to getting a great view of the femoral neck.
 Materials Needed
- Gloves – sterile
- ChloraPrep (3 or 10cc)
- Band-aid – small, round
- Needles
- 25-gauge 3.5″ Quincke needle; May need a 22-gauge 5″ needle if the patient is larger
- Syringes
- 5-ml plastic syringe (for the injectate)
- 3-ml plastic syringe (for the Omnipaque contrast) – also use 6-inch plastic tubing
- Injectate
- 1-ml of 40mg/ml Depo-Medrol or Kenalog, or 7.2-mg of Celestone (6mg/ml)
- 3-ml of 1% lidocaine or 0.5% bupivacaine
- 1-ml of sterile normal saline
- For skin numbing: Will not need it if using the usual 25-gauge needle.
Tips
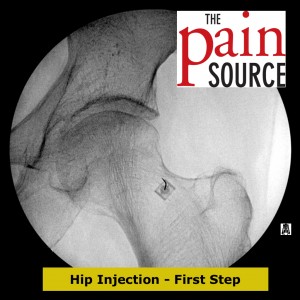
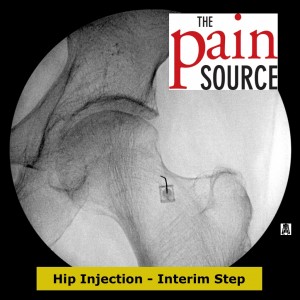
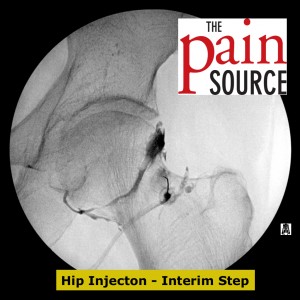
- Curve the needle tip slightly away from the opening of the needle. I feel this makes it easier to slip it under the hip joint capsule.
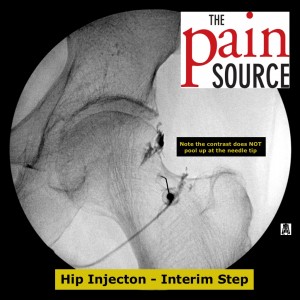
- If the contrast blobs up at the needle tip, adjust the needle.
- Do NOT try to enter the actual articulating surface of the femoral head and acetabulum. Not only will you possibly damage the cartilage, but you will likely not even be able to enter as the overhanging osteophytes from the arthritic joint are not calcified enough to show up on the x-ray.
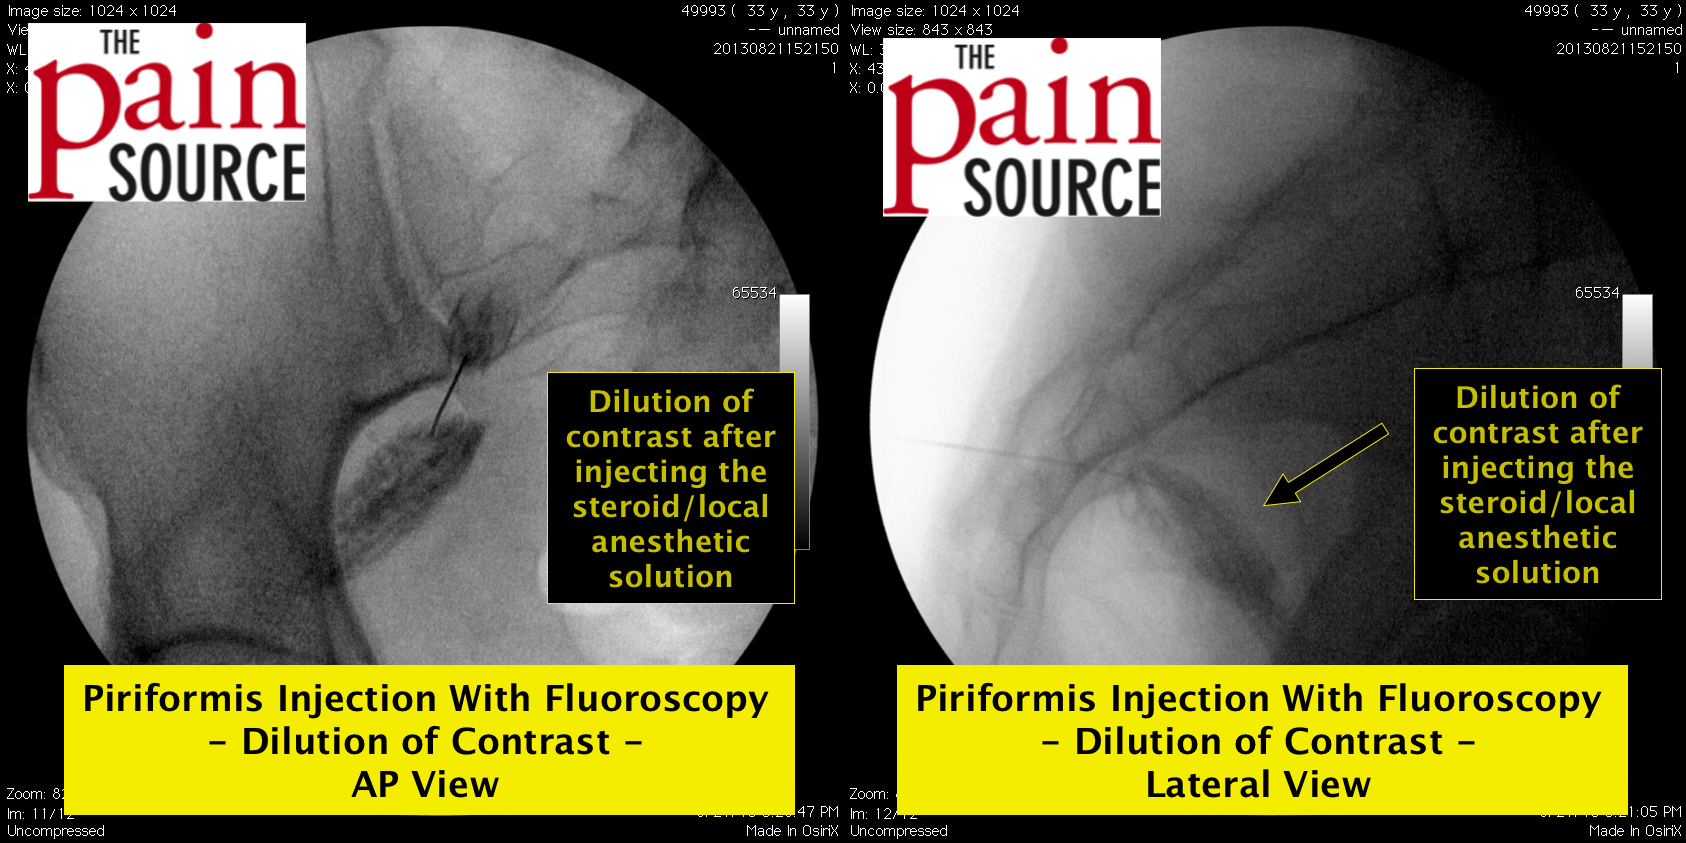
- Add enough volume (5 or more milliliters) so the injectate will reach the articular surfaces and not just pool under the capsule down by the trochanter.
- Test the hip with flexion and internal/external rotation before and after the injection to give a tremendous “awww” effect from the happy patient.
- Note: This exact same technique is used for performing both therapeutic steroid injections AND diagnostic arthrograms of the hip.
VIDEO: Check out this video showing the contrast being injected.
